Hello and welcome back! I hope everyone’s chaining practice has been going well and you feel ready for the next step!
Today we will dive into the first of your basic stitches: the single crochet stitch!
So grab your hook and your yarn and let’s get to it!
Materials
For learning single crochet, you will need:
- 5mm crochet hook
- weight 4 yarn
- scissors
How to Single Crochet
First we need to update your crochet dictionary with another crochet “slang”:
- SC – single crochet stitch
So, building off what we have learned in the first lesson, go ahead and start a slip knot and chain 15.
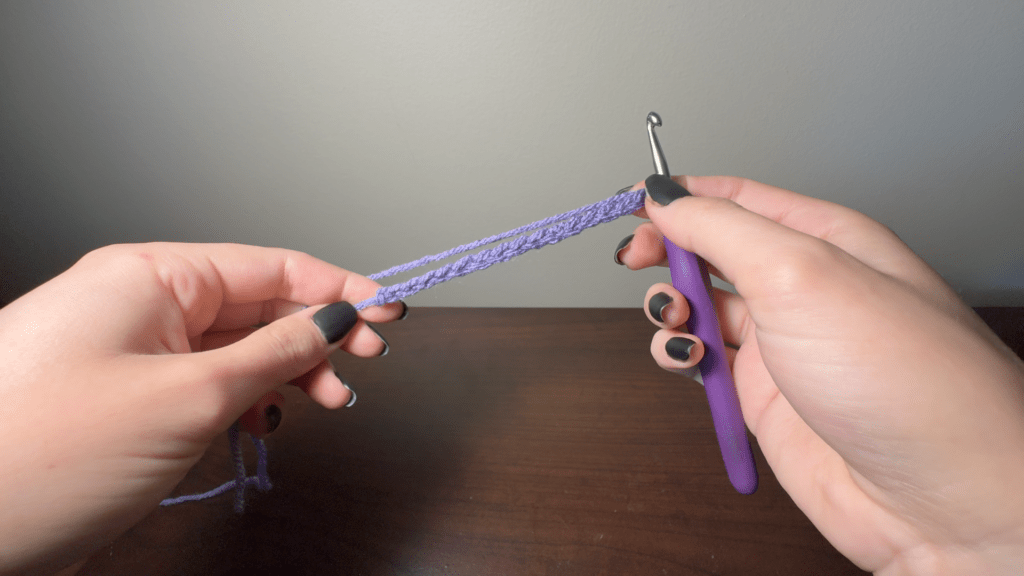
Once you have 15 chained, you are going to find the second chain from your crochet hook. You will not count the loop that is on your hook currently. We insert our hook into the second chain from the hook because we need that single chain of wiggle room so we can start crocheting in rows to create a square. If we did not have this turning chain, the whole piece would have uneven stitches throughout.
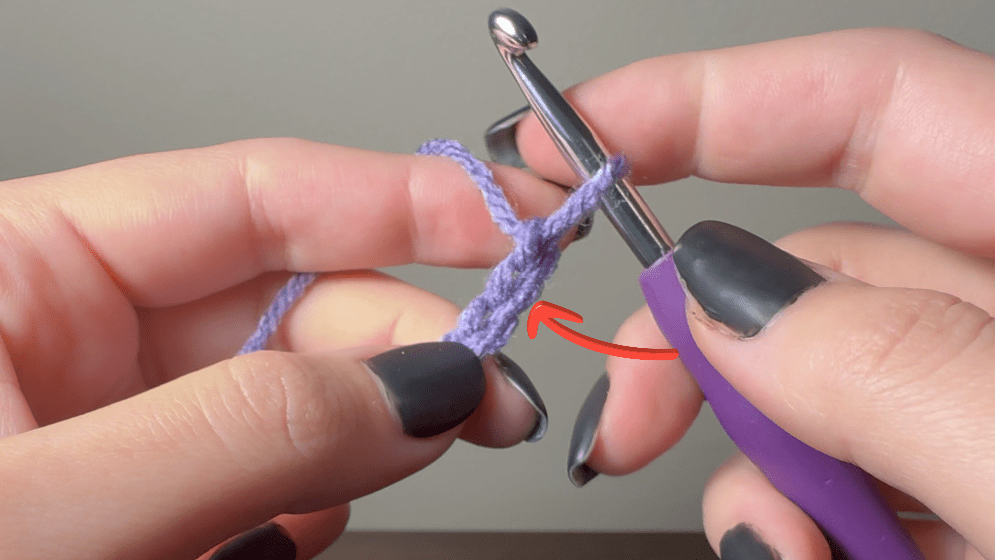
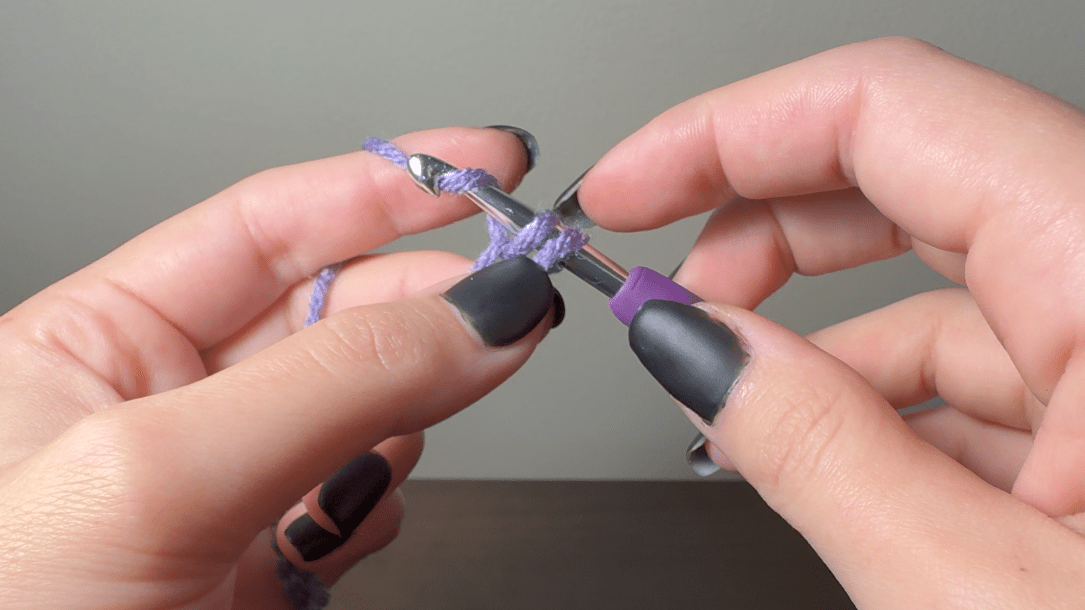
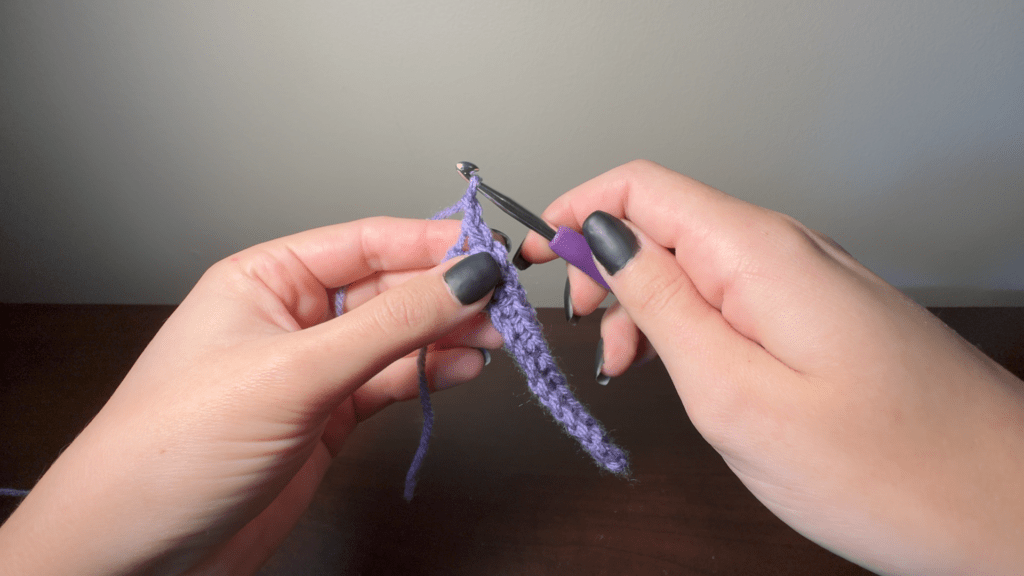
Okay, so now that you’ve found the second chain from your hook, you’re going to insert your hook, from front to back, through the chain.
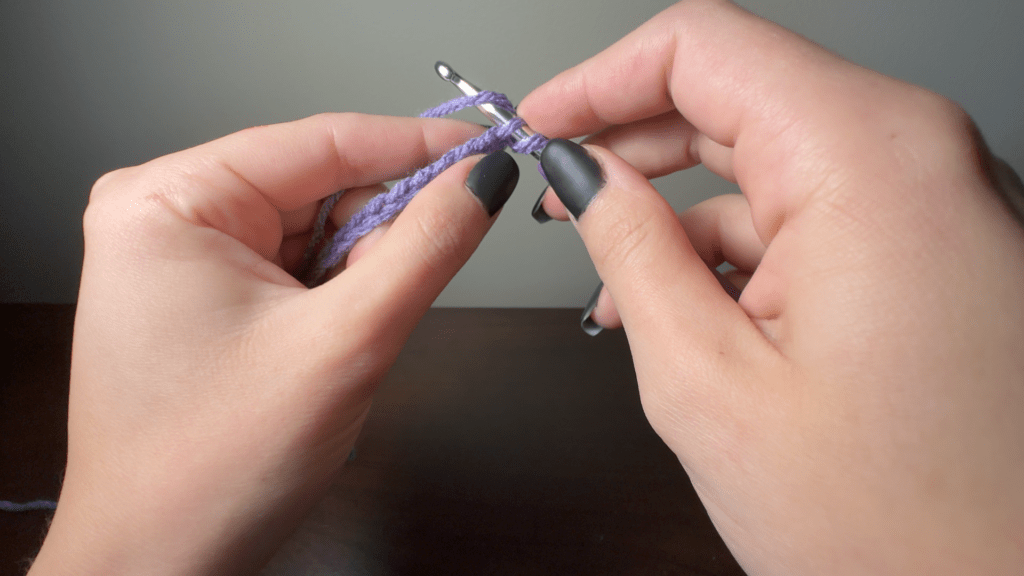
Now you will YO (remember this means Yarn Over, or wrapping the yarn around the back of the hook) and pull up a loop back through the chain. You will now have two loops on your hook and it will look something like this:
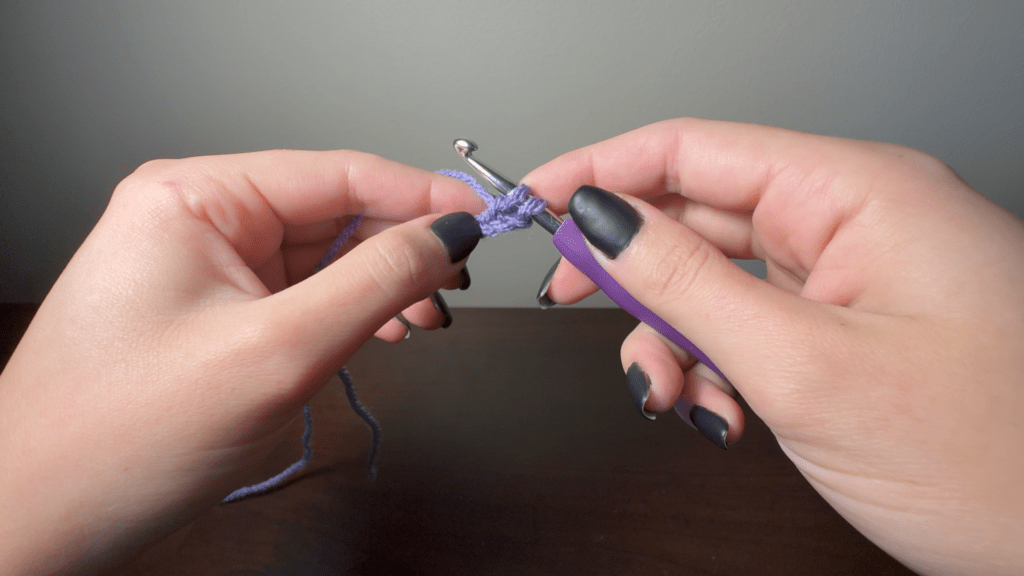
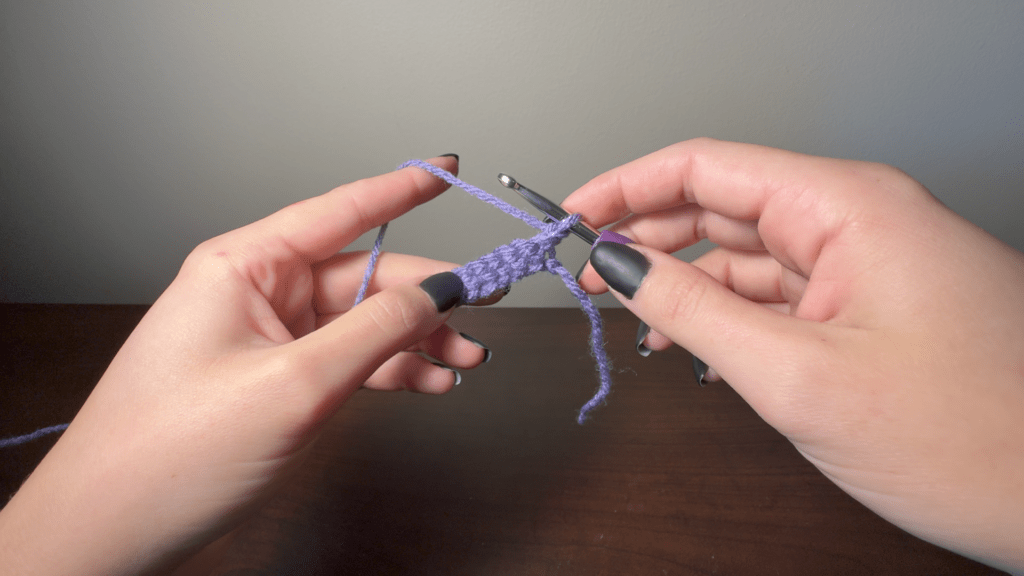
Go ahead and YO again and pull through BOTH loops on your hook.
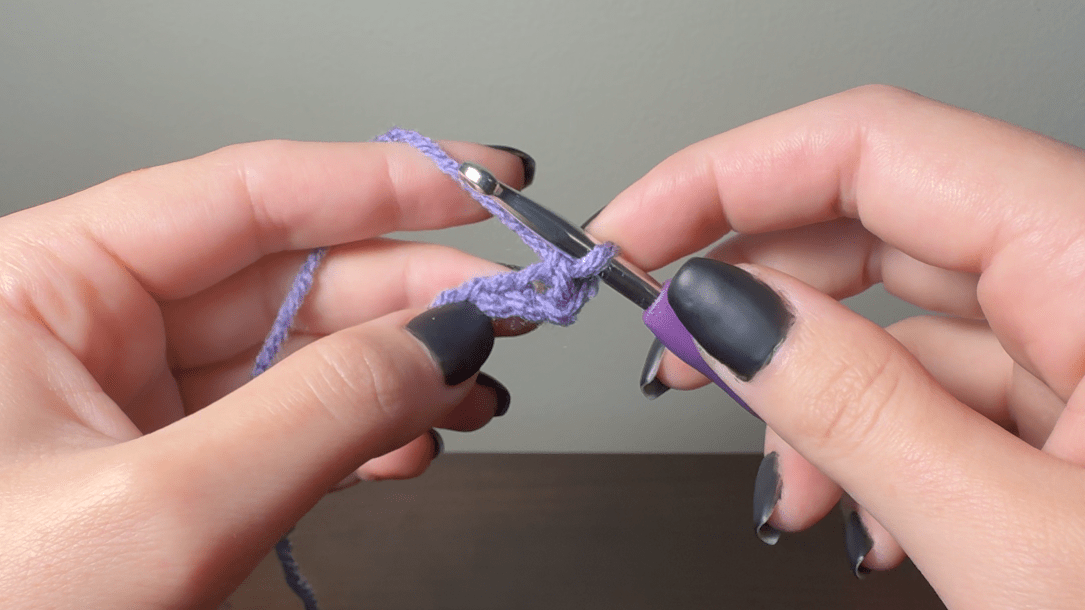
Give yourself a round of applause because you just completed your first single crochet stitch!
So just to go over that again, a single crochet is: Insert hook, YO pull through, YO pull through both loops.
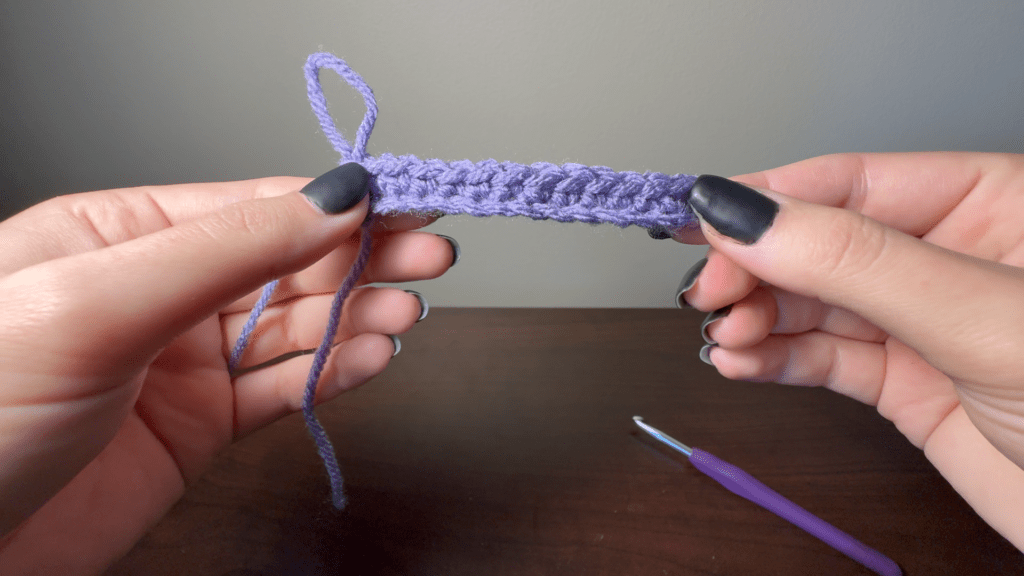
Now go ahead and work a single crochet into each of your foundation chain stitches. When you get to the end, you will hav 14 single crochet stitches. Remember, we end up with 14 because we lose one chain to the turn when we start our first row. Yours should look something like this:
Now I am going to show you how to add even more rows.
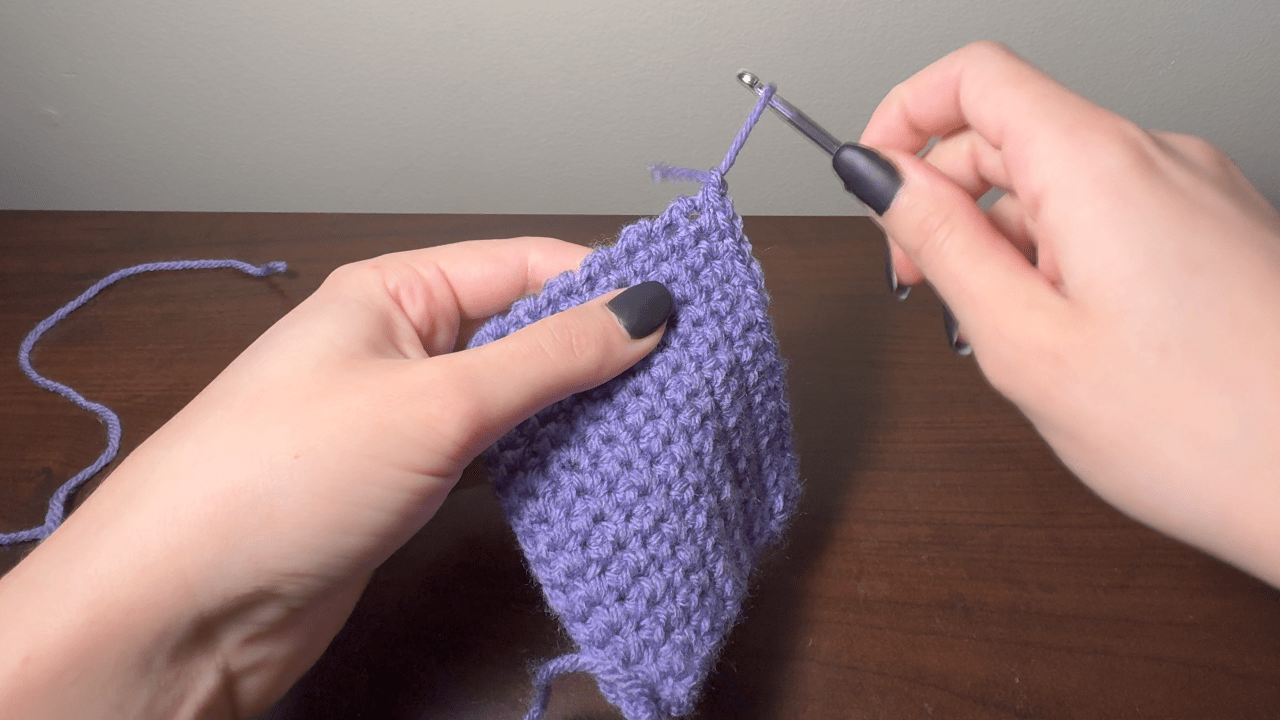
So, now that you’re at the end of your chain, you are going to chain 1 (the turning chain) and flip your work around. Insert your hook through the first single crochet, not the turning chain, and continue placing single crochets until you reach the end of the row.

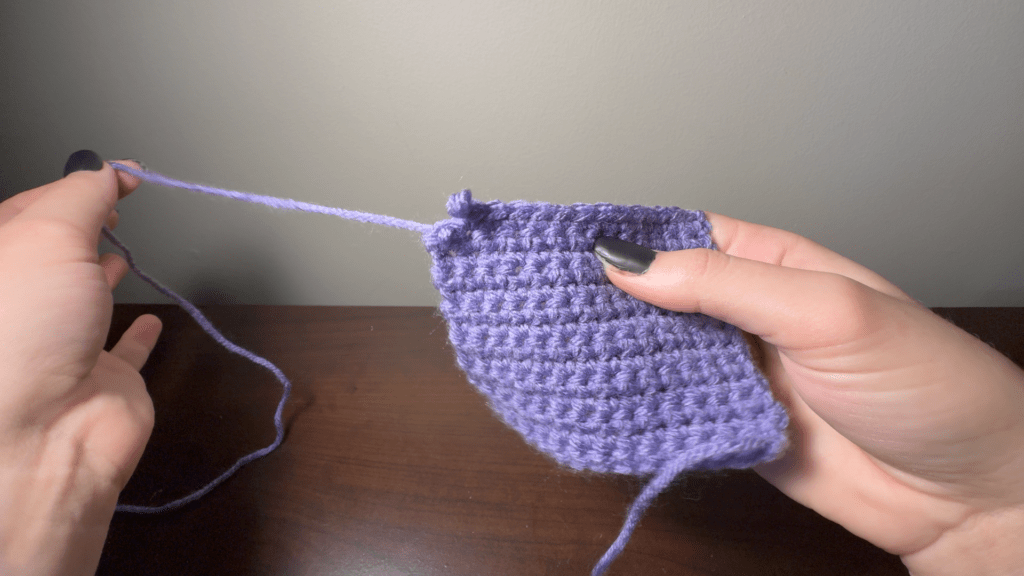
Continue this (ch 1, turn, sc 14) until you have 14 rows. It should be an almost perfect square.
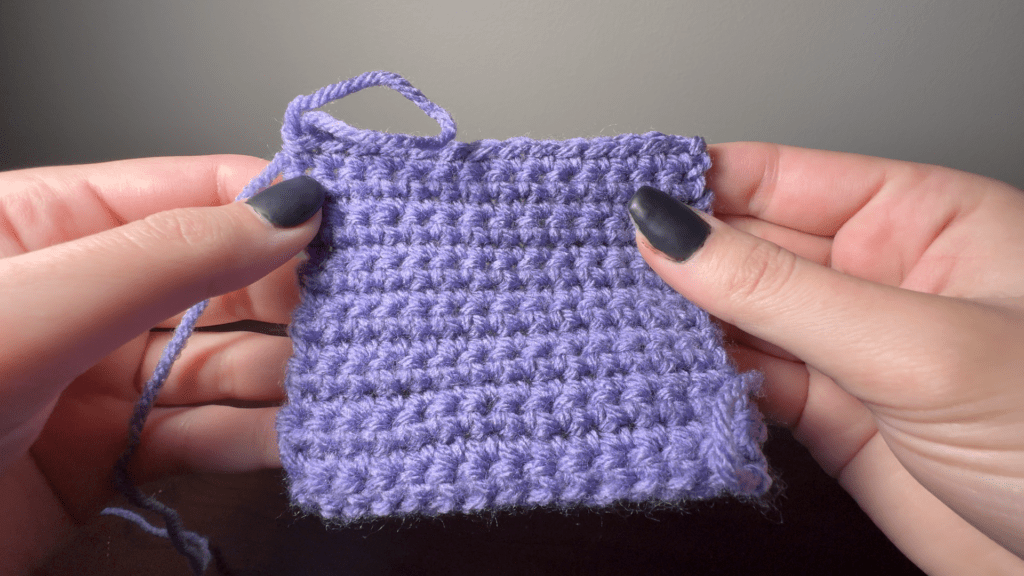
You can now frog your work (shown left) to retry and practice or you can tie off your work (shown right) by chaining 1, cutting the yarn from the ball, and pulling the tail end through.
Now I know that was probably awkward and didn’t feel right and that’s okay! Just remember to keep practicing and don’t move onto the next lesson without feeling confident in this one! I promise just keep growing your muscle memory and it will get easier.
Next time we will learn a slightly more advanced stitch so see you then!
Thanks for reading! If you enjoyed this tutorial and want to see more, or have any burning questions, let me know! Leave a comment and share this with anyone who might enjoy it.