Hello and welcome back to the third installment of my beginners guide to crochet. Hopefully you have been following along with my other lessons which you can find here. Make sure to read through those first before starting here.
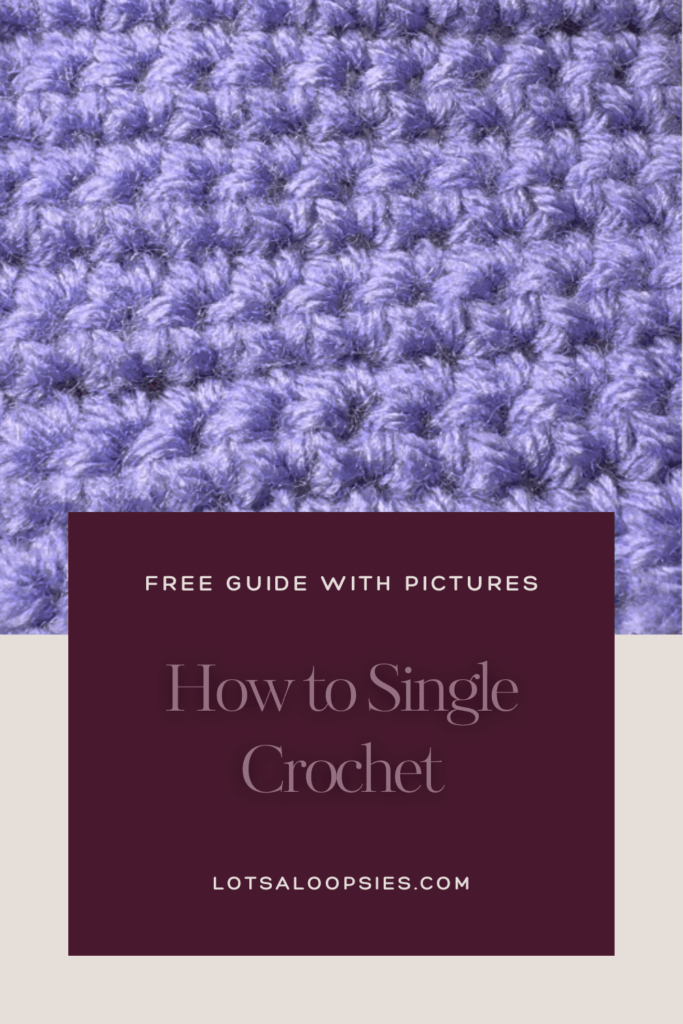
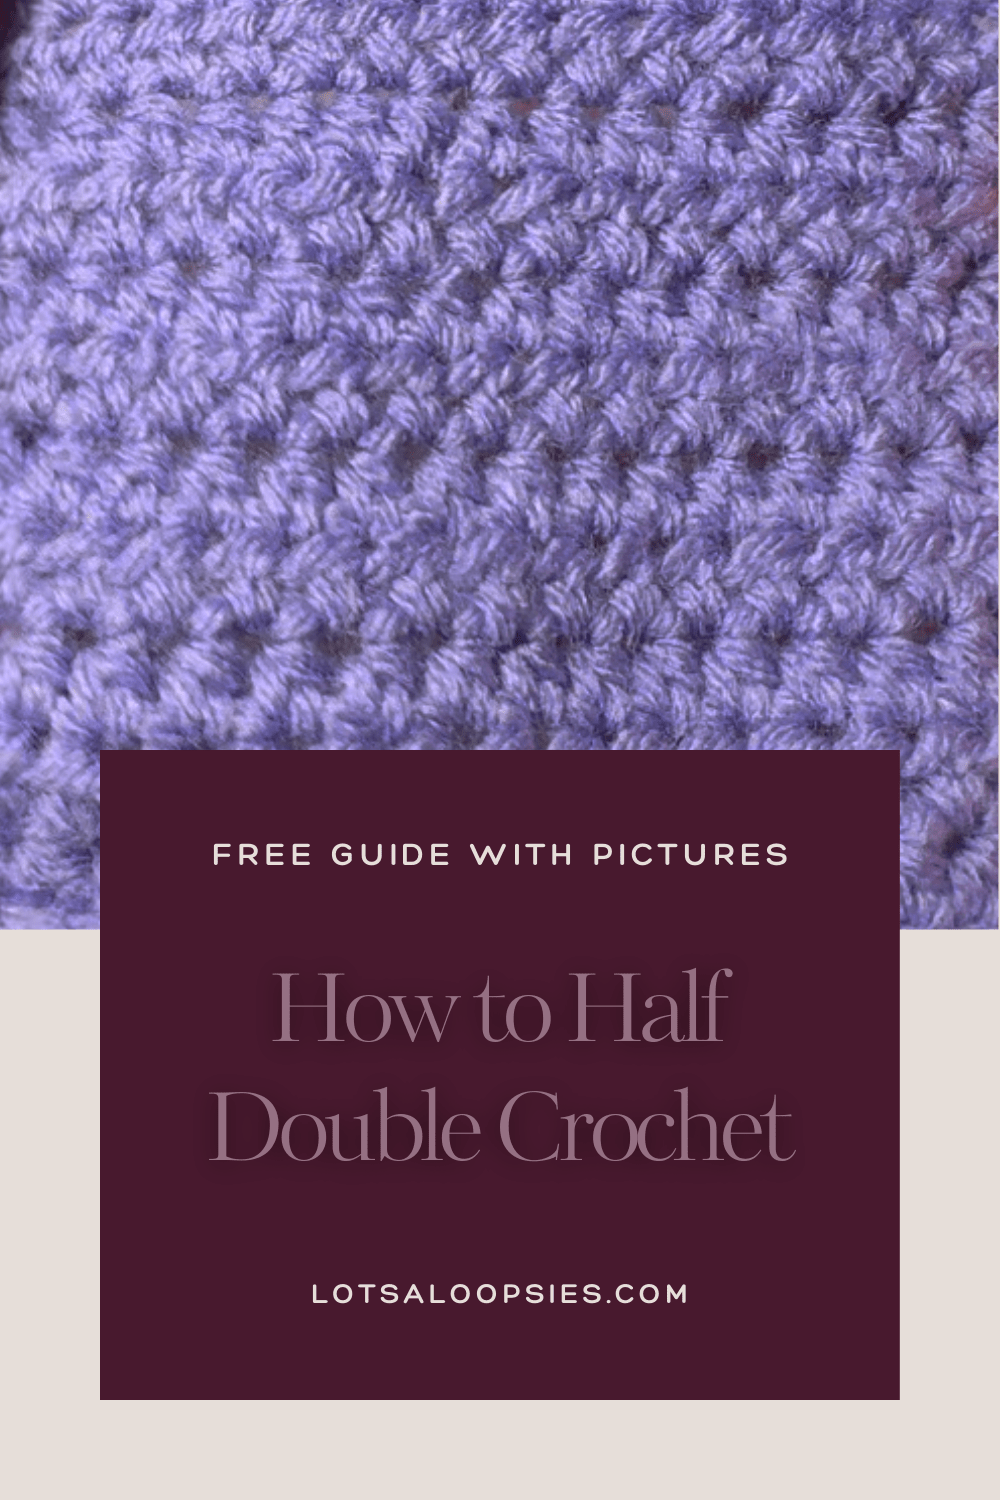
Last time we covered single crochet and this time we will be tackling the next step up: half double crochet. So grab your hook and some yarn and let’s get into it!
Materials
To follow along with me, you will need:
- 5mm crochet hook
- weight 4 yarn (preferably lighter or multicolored so you can see your stitches)
- scissors
The Half Double Crochet Stitch
Alright, so before we begin, I want to tell you a little bit about this stitch. The half double crochet stitch is a bit tall than the single crochet stitch which we learned last time. This extra bit of height in your stitch will allow you to make a looser fabric and create really neat designs in your work. Here’s the new “slang” to add to your dictionary:
- HDC – half double crochet
To begin, like in our previous lessons, we will start with a slip knot on our hook. (Click here to learn about slip knots and chaining!) Let’s chain 15 for our foundation chain.
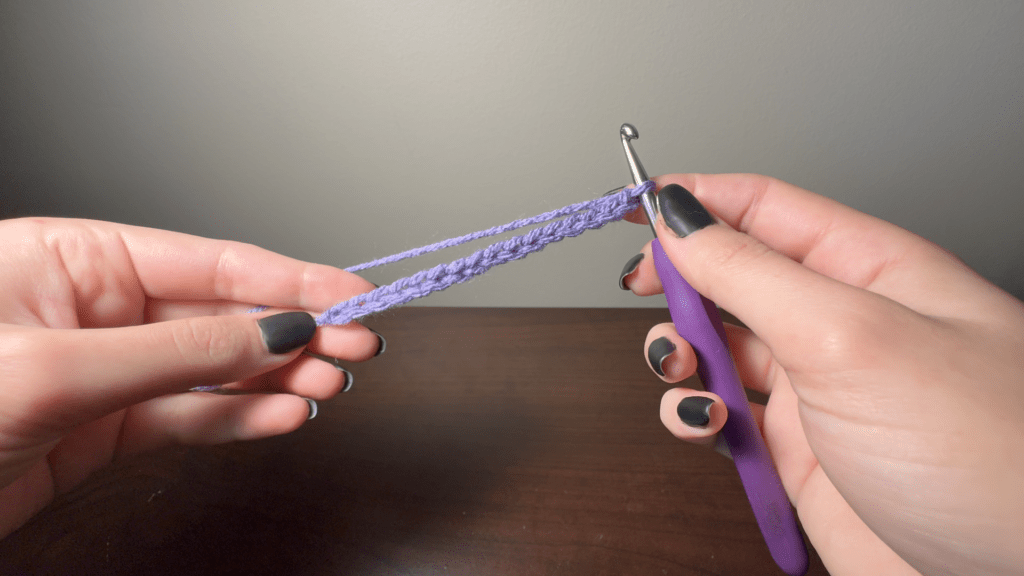
Now that we have a foundation chain that is 15 stitches long, like our single crochets, we are going to again be working our first half double crochet stitch into the second chain from the hook. When we are finished with row 1, we will have 14 half double crochet stitches, 1 less that our foundation chain because we lose the 15th chain as out first “turning chain.”
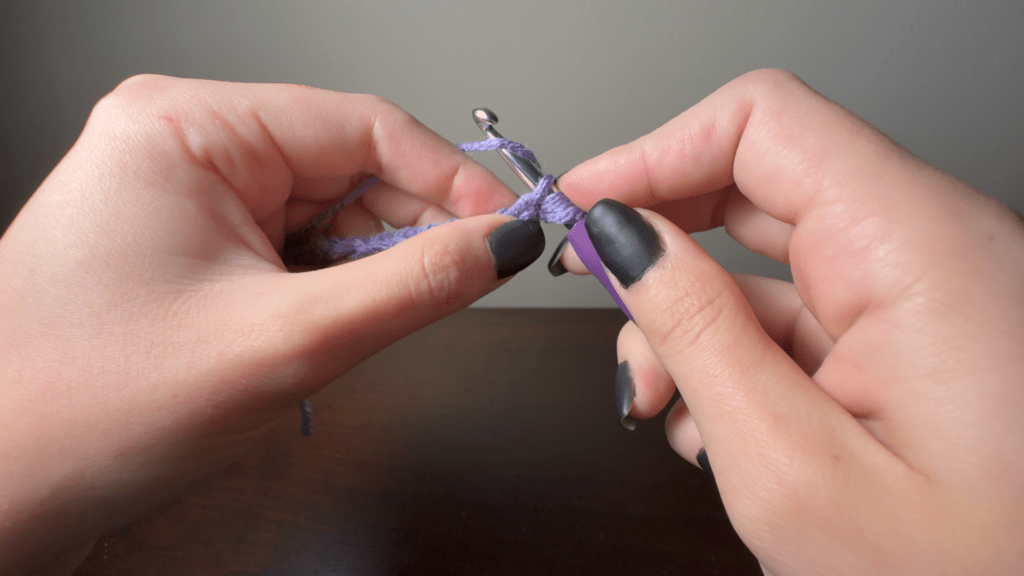
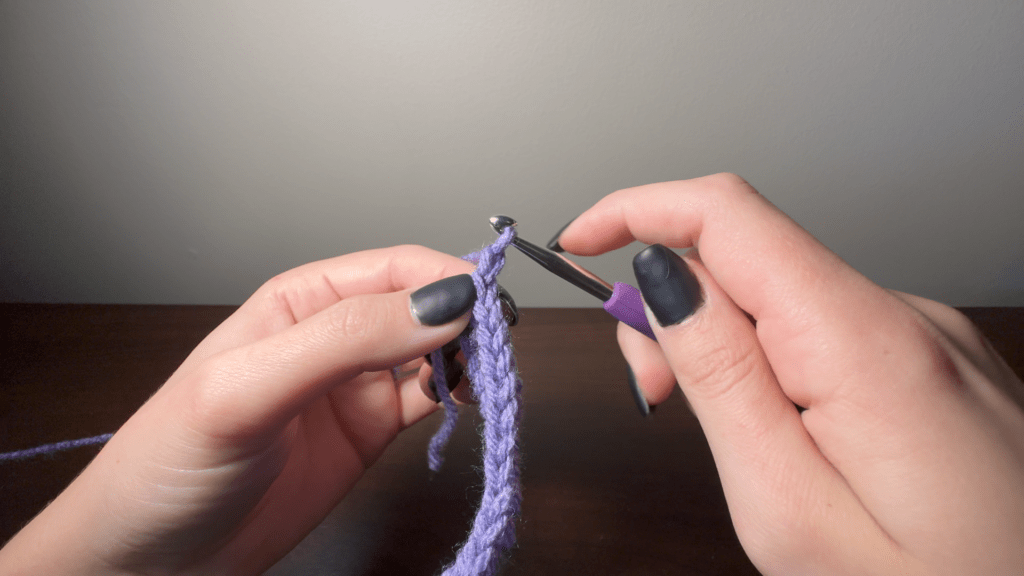
So, the difference between a single crochet and a half double crochet is that you YO your hook before inserting your hook into the chain. So let try this.
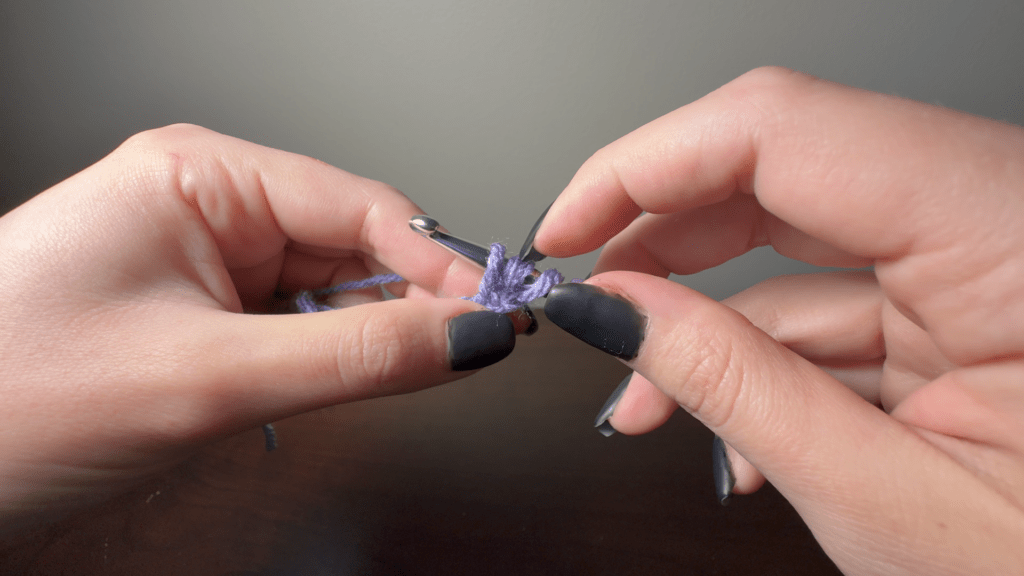
YO, insert your hook through the 2nd chain from the hook, YO and pull up a loop, then YO and pull through all 3 loops on your hook.
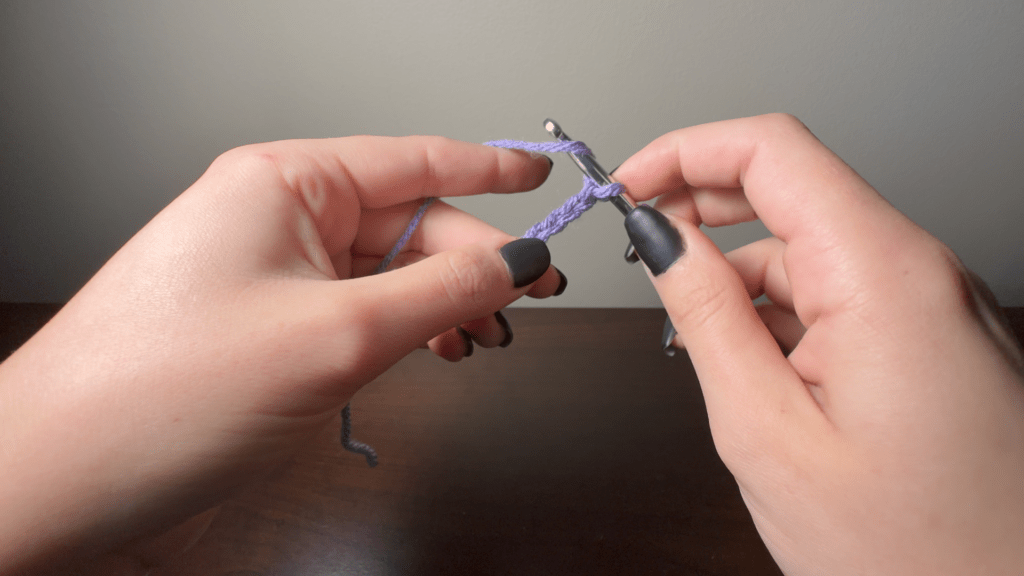
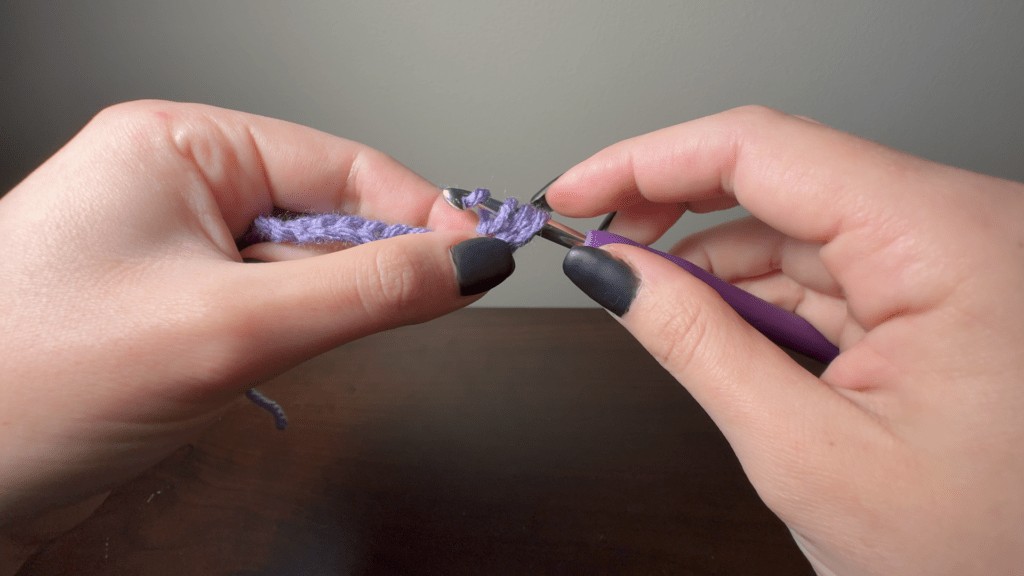
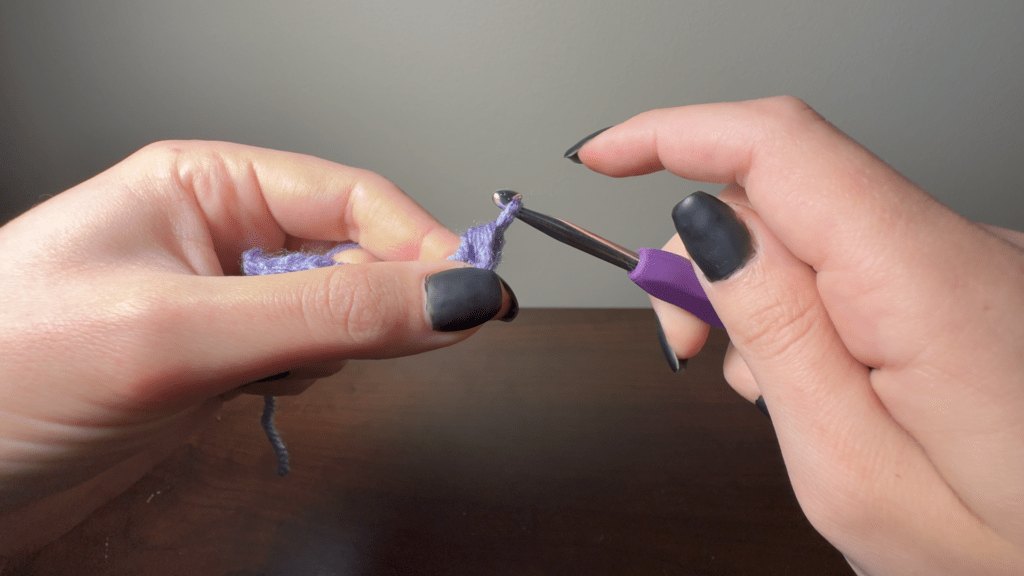
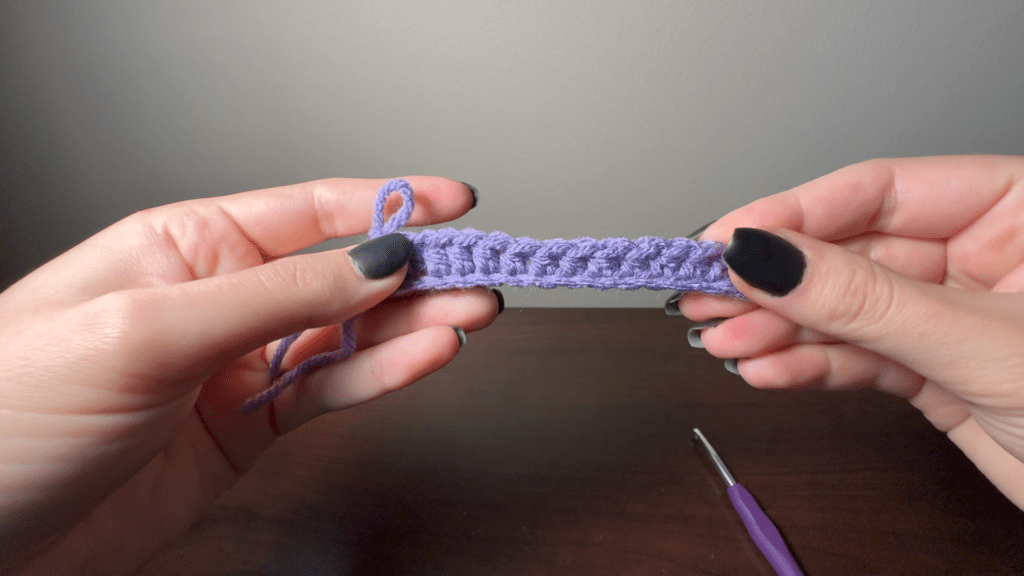
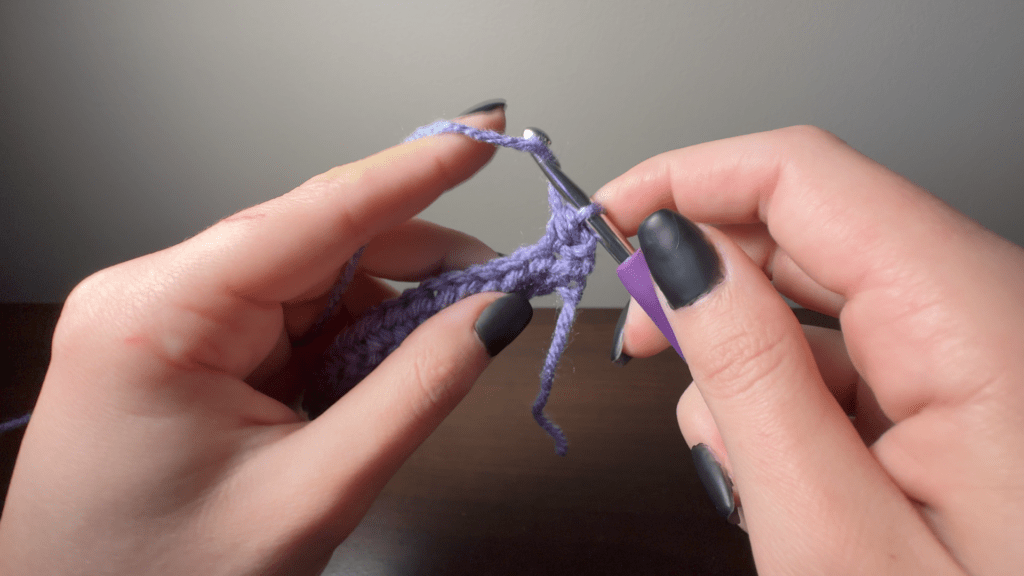
There is your first half double crochet! Now just like we did in the single crochet lesson, work your way back down the entire foundation chain (14 stitches) and we will chain 1 and turn our work to continue the second row.
Go ahead and and work up 10 more rows (we just did one so you will end up with 11 rows total in the end).
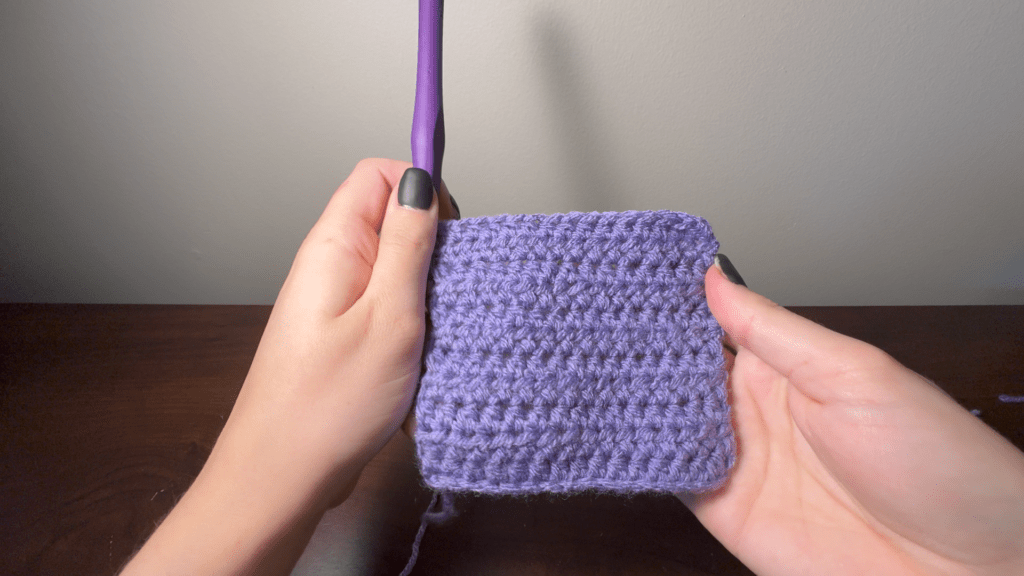
When you’re finished, you can either frog your work to save the yarn for the next lesson or you can tie it off and admire your first square made of half double crochet stitches.
Now, really quick I want to show you what the difference is, visually, between the two stitches you’ve learned so far. On the left is the square we made of single crochet. If you remember, it was also made with a 15 stitch foundation chain but we made it have 14 rows to produce a perfect square. You can see that in the single crochet, the stitches are tight and produce an almost 1:1 ratio in height and width. In the half double crochet, we only needed 11 rows to reach a height that would make it square, and the resulting square is larger. That’s because the half double crochet stitches are about a half single crochet stitch taller than a single crochet. Knowing the difference between your stitches and what they will produce will help you understand patterns and even create your own in the future. Click here for a more concise look at stitch heights.

Congratulations! You just have two more common stitches to learn before I will show you how to start turning these stitches into art! I will cover both of these stitches in the next lesson so stick around! I can’t wait to see what you will be making so soon!
Thanks for reading! If you enjoyed this tutorial and want to see more, or have any burning questions, let me know! Leave a comment and share this with anyone who might enjoy it.