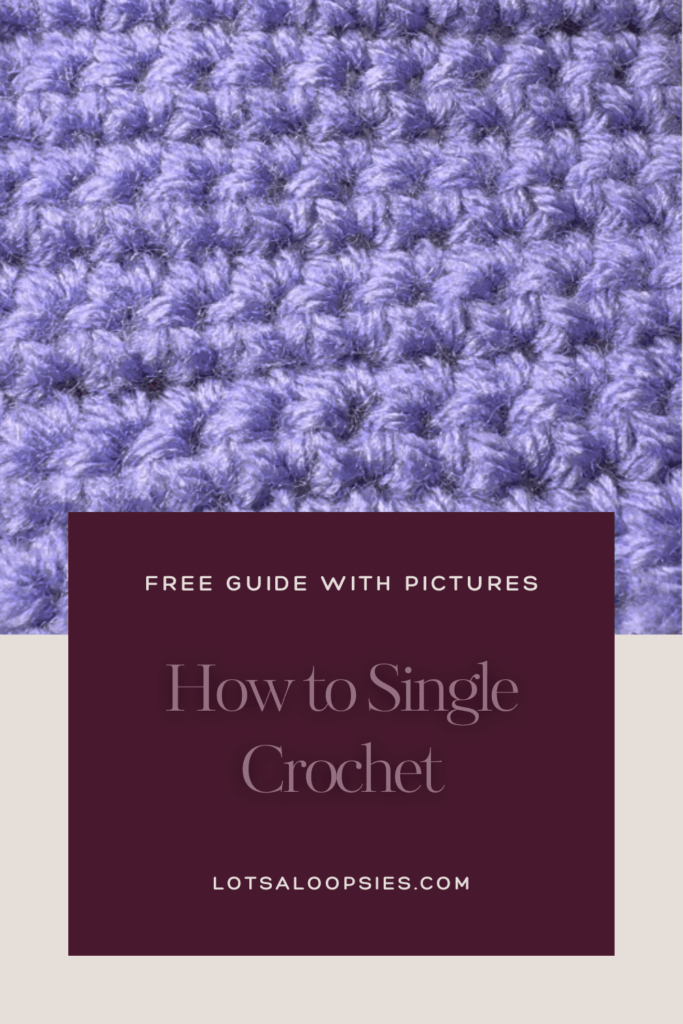
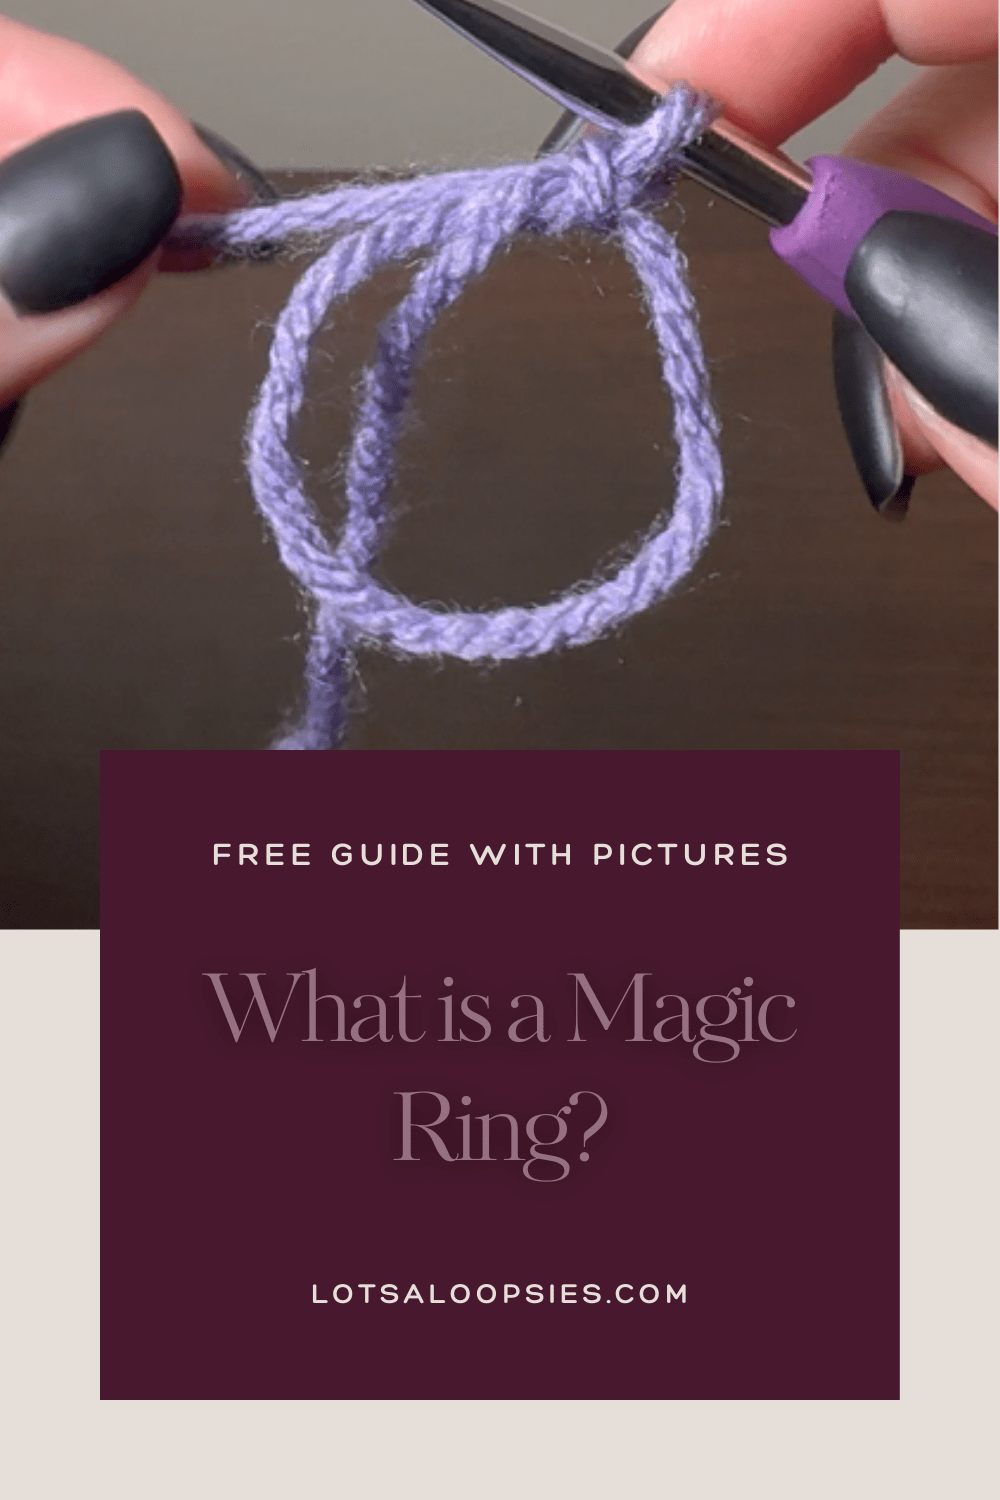
Hi everyone! Welcome back to another installment of my beginner’s guide to crochet. In this lesson, I will be teaching you guys the first step in crocheting a circle, as well as my trick to making one! So let’s get into the mystique of the magic ring.
Materials
Per usual, for this lesson you will need:
- 5mm crochet hook
- weight 4 yarn
- scissors
And another term to add to your dictionary:
- MR – magic ring/circle
How to Start a Magic Ring
So the term magic ring and magic circle you will see often interchanged in patterns you find. They are exactly the same and all it is is a different way to start your projects. So, previously we have been working everything into a foundation chain which is great for projects with square edges but often times, you’ll find yourself in need of a circle or some other rounded shape which is where the magic ring comes into play.
We start with an open loop that we will work our stitches into, eventually tightening it down when we are finished with our foundational stitches. The following is how I prefer to make mine. There are hundreds of methods posted by everyone so find one that works for you and stick with it. Hopefully my method makes it easier for you to understand.
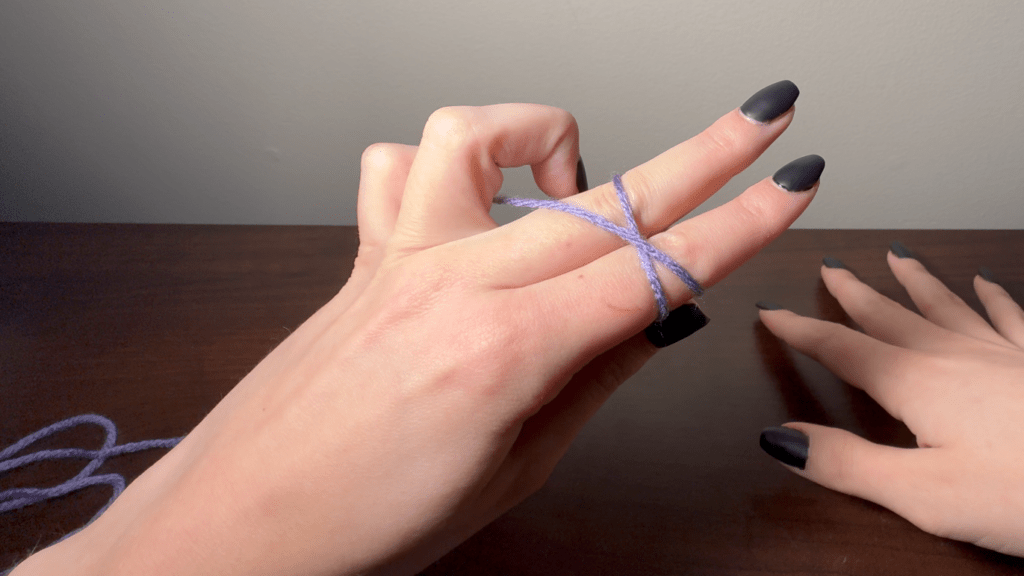
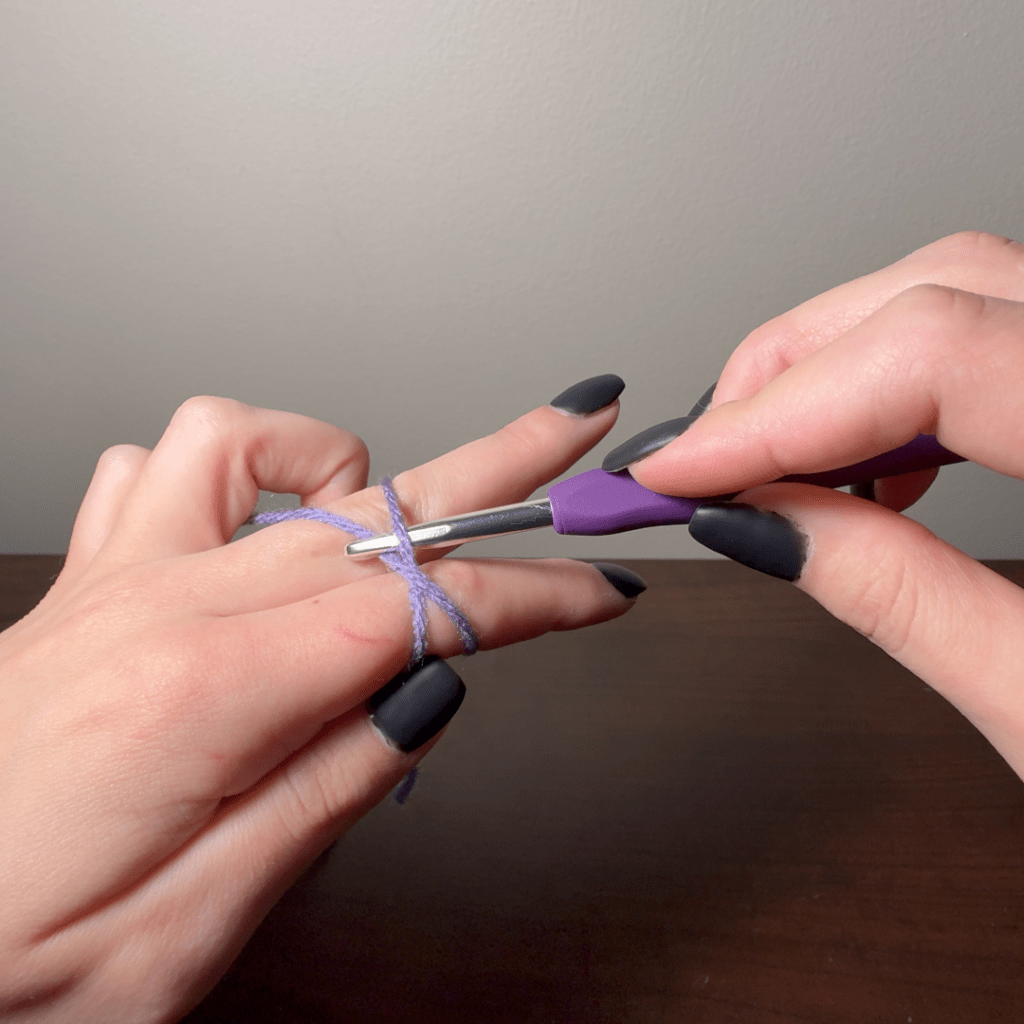
So the way I am going to start this is very much like the way I taught you to make your slip knots (which you can find here). Go ahead a pinch the tail end between your thumb and index finger and wrap the yarn around your first two fingers once, anchoring it with your pinky.
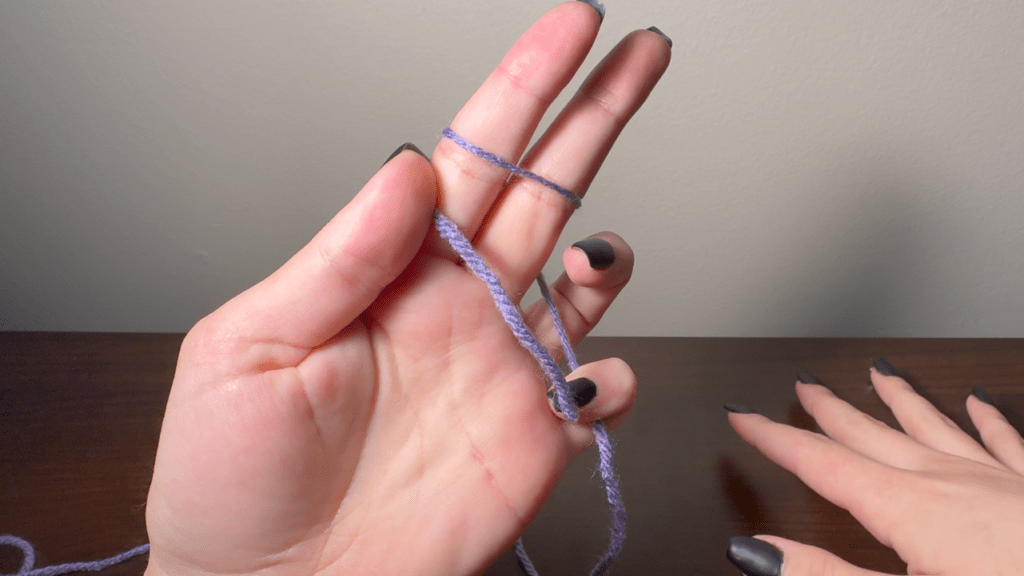
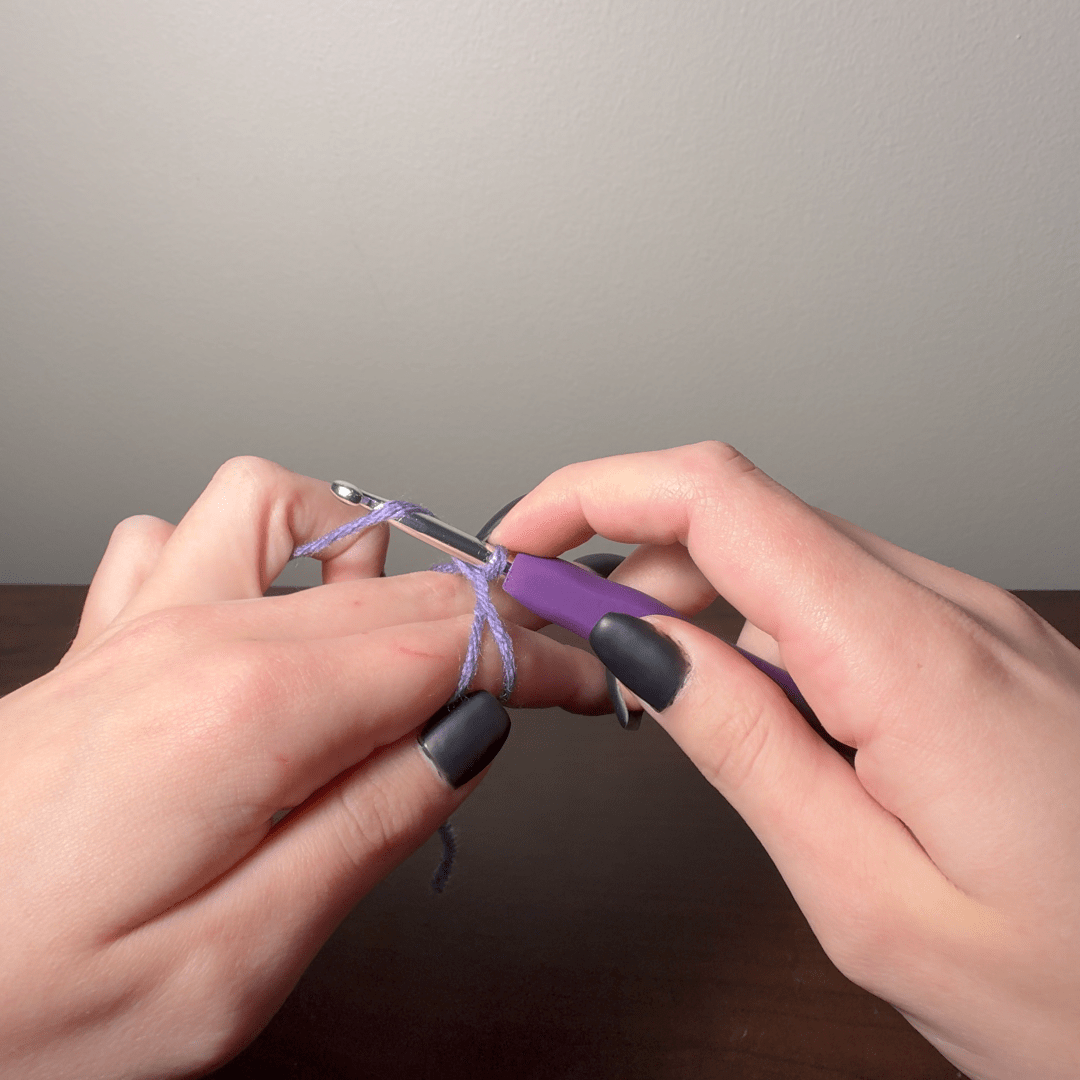
Slide your hook under the bottom string, grab the top string and pull it through. Now instead of sliding your fingers out and tightening the knot, we are going to YO and pull through the loop on our hook, pulling tight.
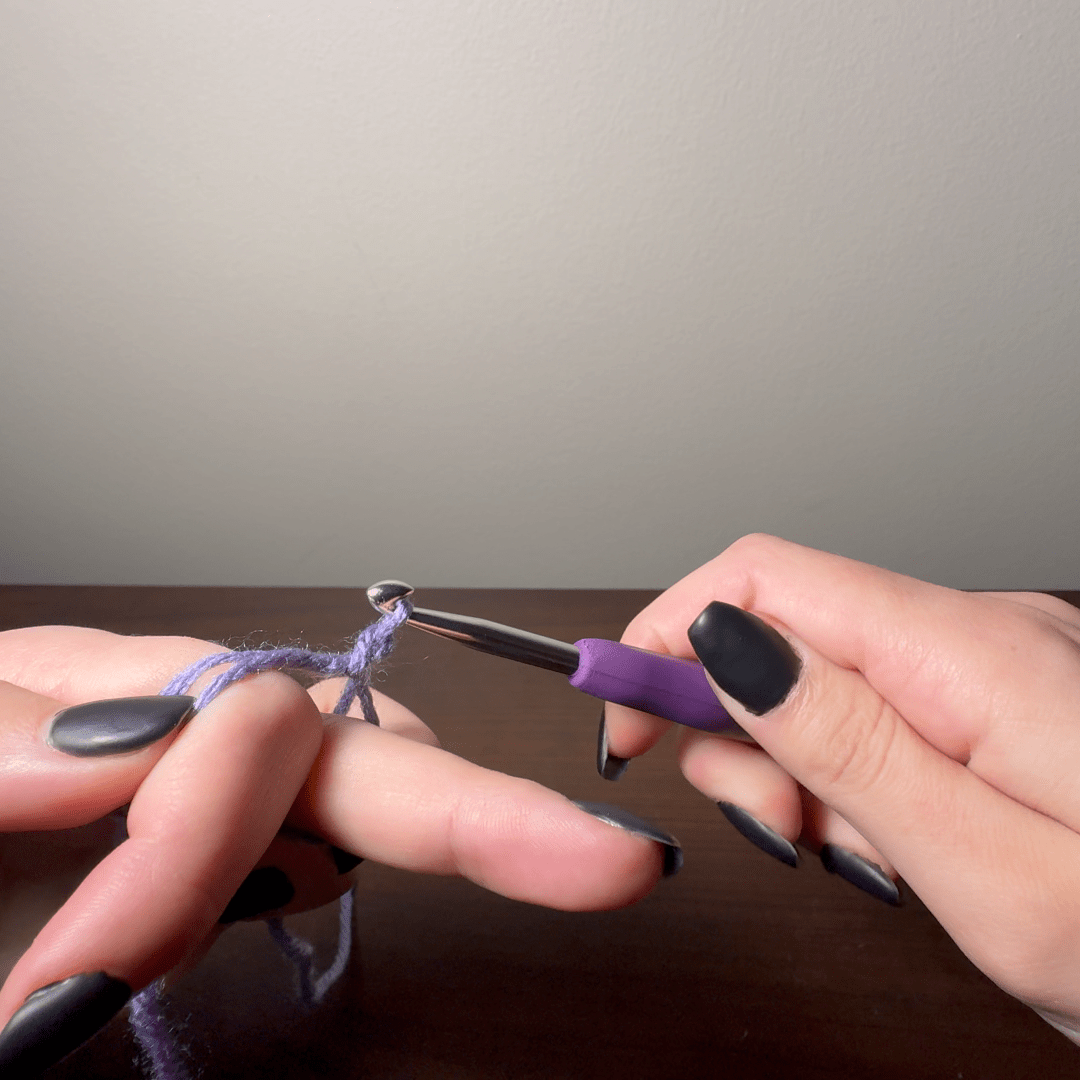
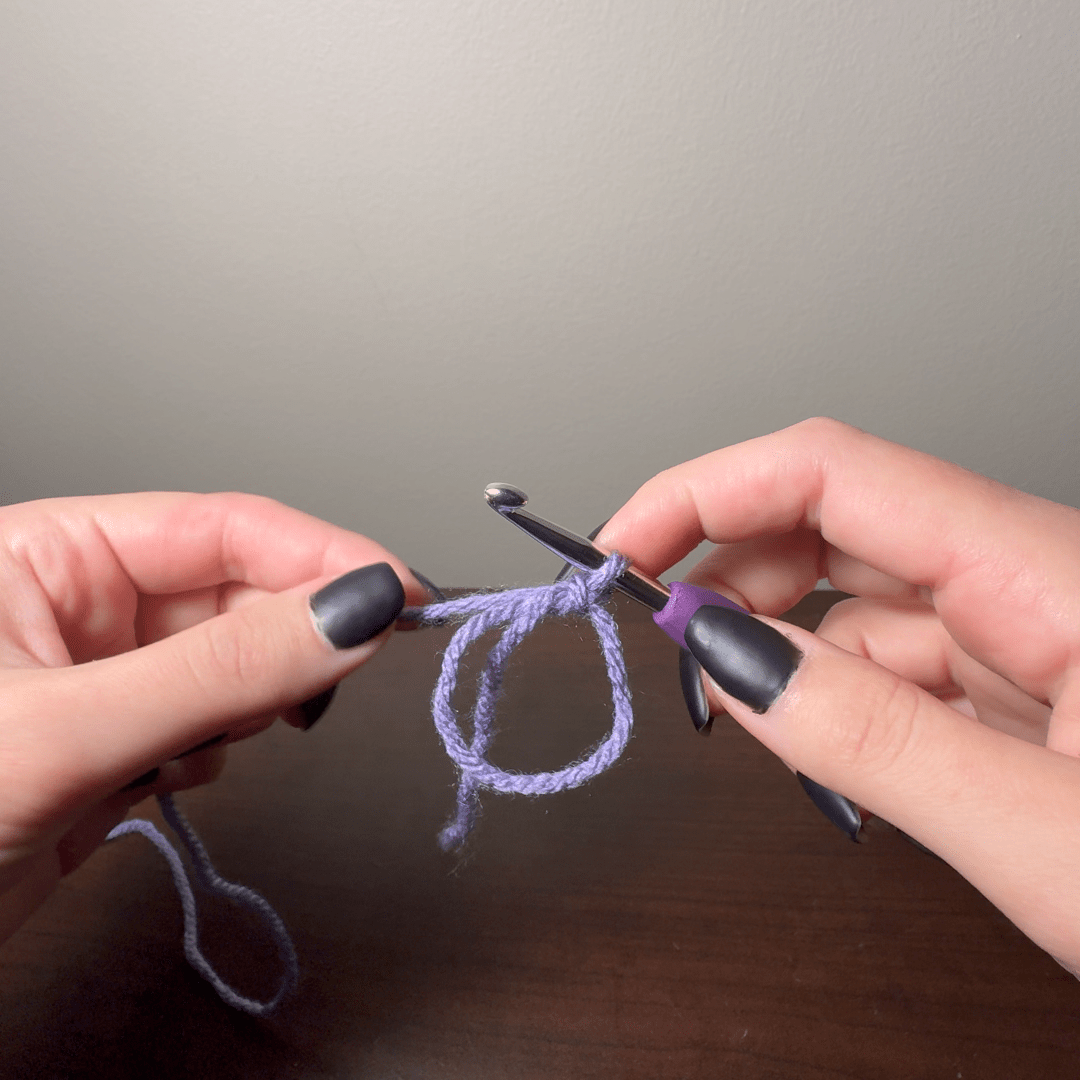
Now you have a loop where you can pull the free tail to close it tight. Leave it loose for now and you can start working stitches into the ring like this:
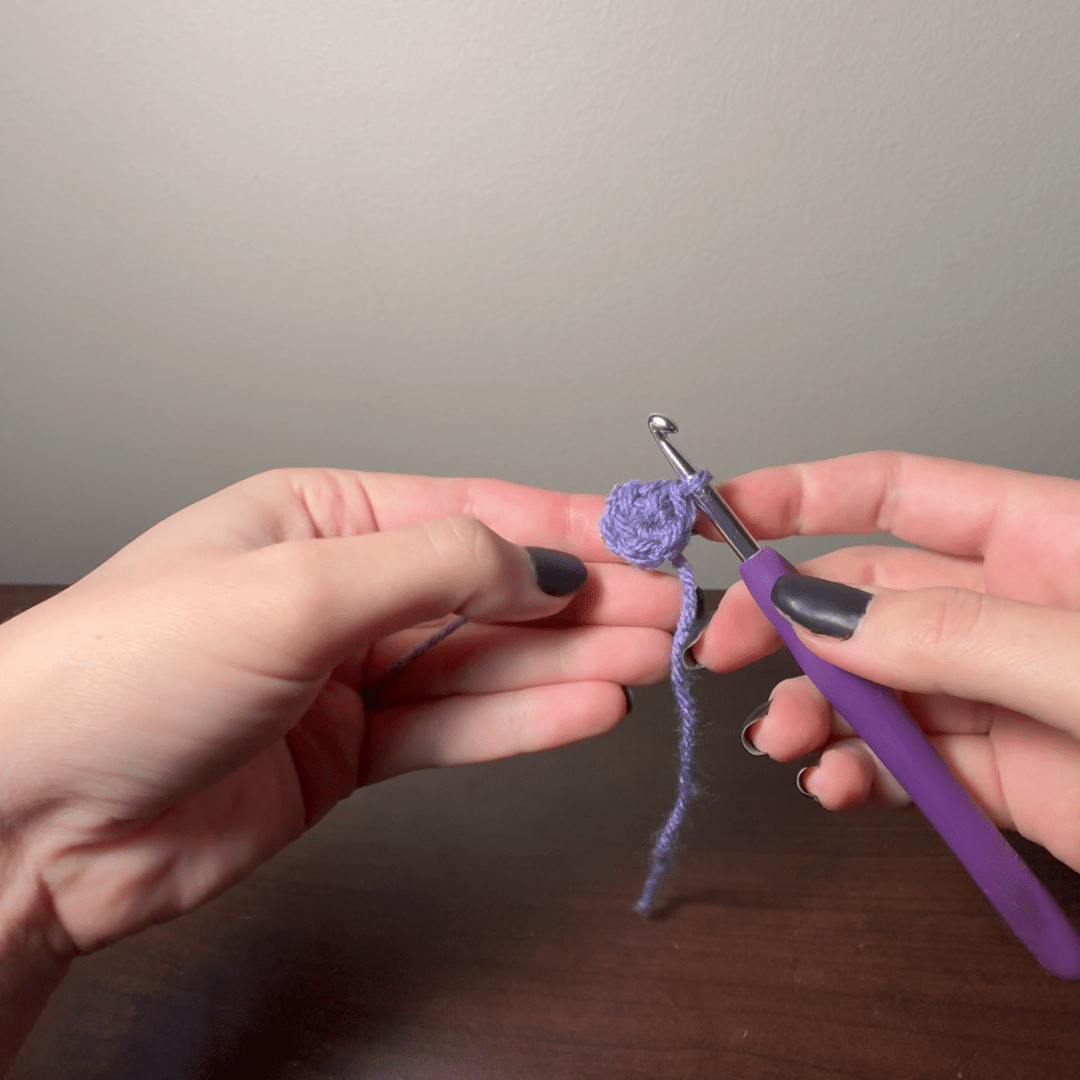
When you have your desired amount of stitches in the ring, you can pull the tail tight and a small circle will form. Now you can continue in rounds to make your circle which I will go over in another lesson so stick around for that!
Now take your newfound skills and practice practice practice! You got this and you’ve come so far from where you started. I can wait to see what creations you make in the future.
Thanks for reading! If you enjoyed this tutorial and want to see more, or have any burning questions, let me know! Leave a comment and share this with anyone who might enjoy it.